Easy Deployment

Install the plugin on your Wordpress site. Create a Newsletter template. Pick a Newsletter Theme. Select few Wordpress posts and pick the sort order. Copy the HTML source code and Paste it in your email marketing client and hit send!

Compatibility

Our Newsletter Themes are fully compatible with all the major email marketing providers. MailChimp, Constant Contact, Campaign Monitor, AWeber, Cleverreach, and more. If your email marketing provider accepts HTML code then you're good to go.

Modern Design

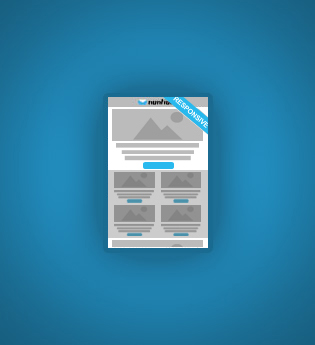
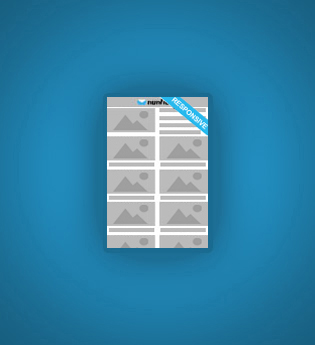
Create clean and modern newsletters and keep your subscribers up to date using these eye-catching newsletter themes fed directly from your Wordpress site or blog.


Clean Code

Email themes created with clean HTML code designed with the single purpose to help you build successful and efficient email campaigns.


Customization

We made it easy for you to customize the themes' colors, add your own logos and insert extra content into the Newsletter Header and Footer by using our out-of-the-box widgets. (PRO Version)

Themes

Nuntium Wordpress plugin (PRO Version) includes 18 themes, seven of them are Responsive Design themes. All future updates will include even more themes, for free!

Installation

  1. In the Wordpress Administration backend on the left navigation click Plugins.
  2. Click the "Add New" button.
  3. On the "Add Plugins" screen search for Nuntium.
  4. On the results page, click "Install Now" button.
  5. Activate the plugin through the Plugins menu in WordPress.

Permalinks

  1. In the Wordpress Administration backend on the left navigation click the Permalinks
  2. Make sure your Wordpress URL strcture is set to "Post name".
  3. In order for the Newsletters to show you need to have the Permalinks Post Name URL in this format: http://YourBlog.com/sample-post/

Documentation

Create a new Newsletter Issue
  1. In the Wordpress Administration backend on the left navigation click the Newsletter section.
  2. Create a new Newsletter Issue by filling out the necessary fields.
  3. Select a Newsletter Theme and click Add Newsletter Issue.
Select Articles for the Newsletter
  1. Go to the Posts and pick the first article. Click Edit.
  2. Make sure you insert the Read More tag after the first paragraph. The shorter the excerpt the better.
  3. Choose the Sort Order from the "Sort Newsletter Article", where 1 is the first item to show in the newsletter.
  4. Select the Newsletter Issue for the article.
  5. Make sure you select a "Featured Image".
  6. Make sure you pick a category for your article.
  7. Make sure you select few Tags related to the article.
  8. Hit Update
  9. Do the same for the rest of the Newsletter Items.
Generate the HTML code for the Newsletter
  1. In the Wordpress Administration backend on the left navigation click the Newsletter section.
  2. Hover over the newly created Newsletter and click on View to see the actual Newsletter.
  3. Right click on the Newsletter page and depending on the browser you are using select "View page source" if you're using Chrome browser or "View source" if IE.
  4. Select all the source code and Copy it.
  5. Paste it in your email marketing client.
Use the custom widgets
  1. Add the "Nuntium: Social Networks" widget to the "Nuntium: Newsletter Footer Area"
  2. Use the "Nuntium: Social Networks" widget to add your Social Networks links.
  3. Add the Text widget to add your custom content for Newsletter Header or Footer Area.
  4. You can use custom HTML code to add additional messages to the Newsletter.
  5. Use the "Nuntium: Newsletter Issues" widget to display on your site a list of all the Newsletters.
Use the Shortcode to display Newsletter Archive
  1. Create a new Page and call it something like "Newsletter Archive".
  2. On the page you just created, use the WordPress HTML editor (Text tab) instead of the Visual editor.
  3. Copy the following code and Paste it in th HTML editor:
    [newsletter-archive]
Add custom Logo, Background and Link color
  1. In the Wordpress Administration backend on the left navigation click the Newsletter section.
  2. Edit a Newsletter already created or create a new Newsletter.
  3. Add a link to a Logo for the Newsletter Logo URL. (Example: http://www.YourSite/YourLogo.jpg)
  4. Add a custom HEX color for Newsletter Header/Footer Background. (Example: #ff6600)
  5. Add a custom HEX color for Newsletter Links. (Example: #147603)
Insert Ad Banners to the Newsletter
  1. Nuntium plugin comes with few custom widgets and seven areas to be populated by widgets.
    • Nuntium: Newsletter Header Area (Add ads or custom content to Newsletter Header Area)
    • Nuntium: Newsletter Footer Area (Add ads or custom content to Newsletter Footer Area)
    • Nuntium: Newsletter Ad Spot #1 (Add ads or custom content to Newsletter Ad Spot #1 Area)
    • Nuntium: Newsletter Ad Spot #2 (Add ads or custom content to Newsletter Ad Spot #2 Area)
    • Nuntium: Newsletter Ad Spot #3 (Add ads or custom content to Newsletter Ad Spot #3 Area)
    • Nuntium: Newsletter Ad Spot #4 (Add ads or custom content to Newsletter Ad Spot #4 Area)
    • Nuntium: Newsletter Ad Spot #5 (Add ads or custom content to Newsletter Ad Spot #5 Area)
  2. Assuming you already have the Newsletter set up (posts and theme).
  3. In the Wordpress Administration backend on the left navigation click the Appearance then click on Widgets.
  4. Drag .:Nuntium: Newsletter Ad widget to your desired area.
  5. If you want to display a banner ad in the Newsletter header, drop .:Nuntium: Newsletter Ad widget to Nuntium: Newsletter Header Area.
  6. If you want to display a banner ad in the Newsletter footer, drop .:Nuntium: Newsletter Ad widget to Nuntium: Newsletter Footer Area.
  7. If you want to display a banner ad in one of the five Ad spots within the Newsletter, drop .:Nuntium: Newsletter Ad widget to one of the five Nuntium: Newsletter Ad Spot #.
  8. Once you picked what widget area to use for the ad banner, in the widget option area add a Ad Title for your banner.
  9. Next, click on the "Upload Ad Image" to select an image banner from your Media or upload a new image.
  10. Next, add the banner link to Ad Link.
  11. Click Save button.
  12. Do the same for other areas.
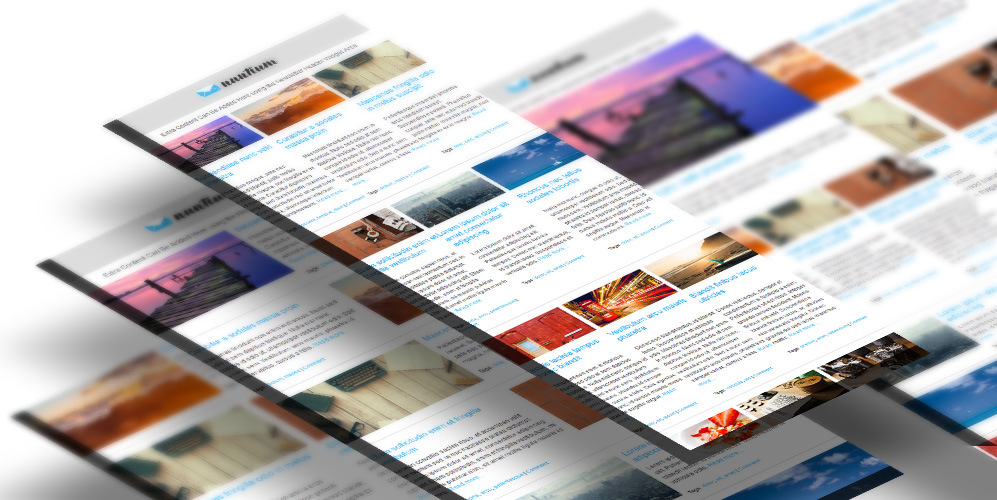
  • Our Newsletter Themes are fully compatible with all the major email marketing providers. Also, tested sucessfully on email clients such as Gmail, Outlook, Yahoo, Hotmail,...

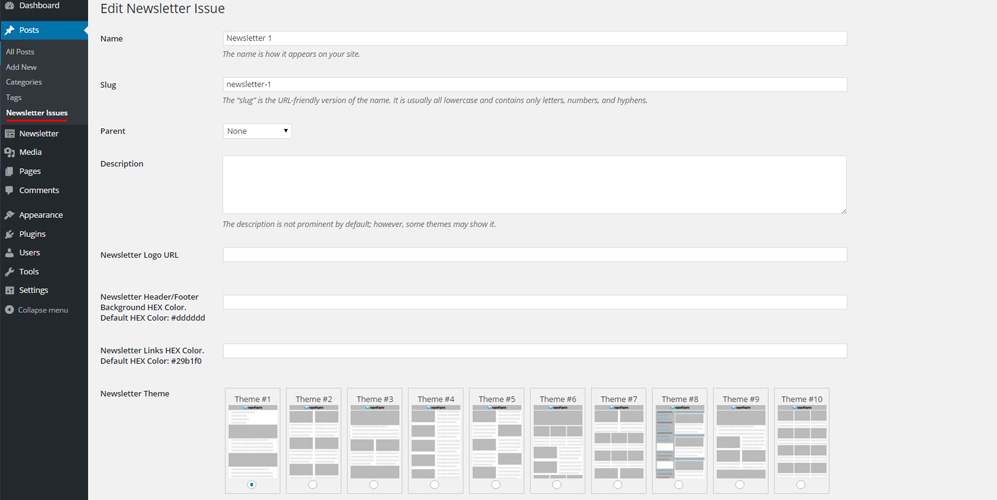
  • Create your Newsletter Issue using the familiar Wordpress user interface. PRO version offers lots of newsletter themes and features.

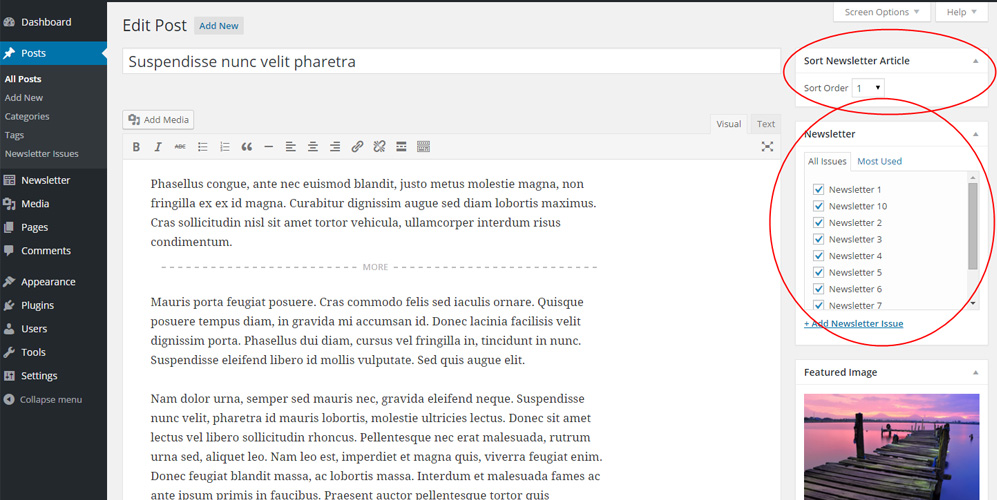
  • Pick some articles to be used for the Newsletter. Assign the sort order within the Newsletter and the Newsletter Issue.

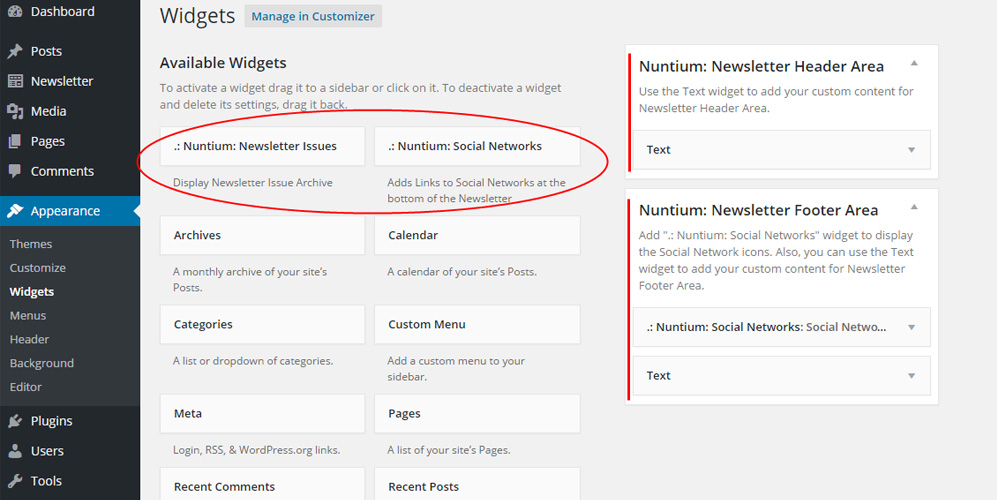
  • PRO Version. Use our out-of-the-box widgets to customize the newsletters. Add Social Network links, and custom content for Newsletter Header/Footer Area.

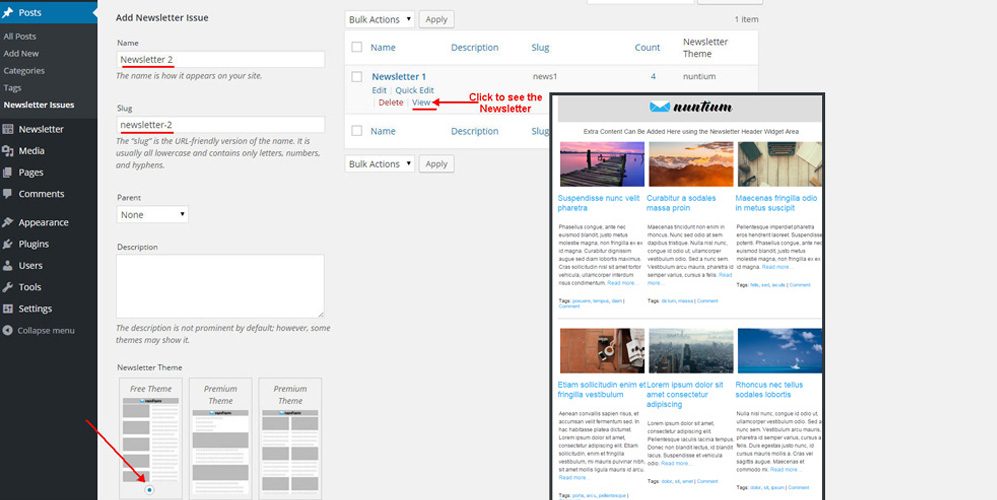
  • Hover over the Newsletter and click on View link to see the actual Newsletter.

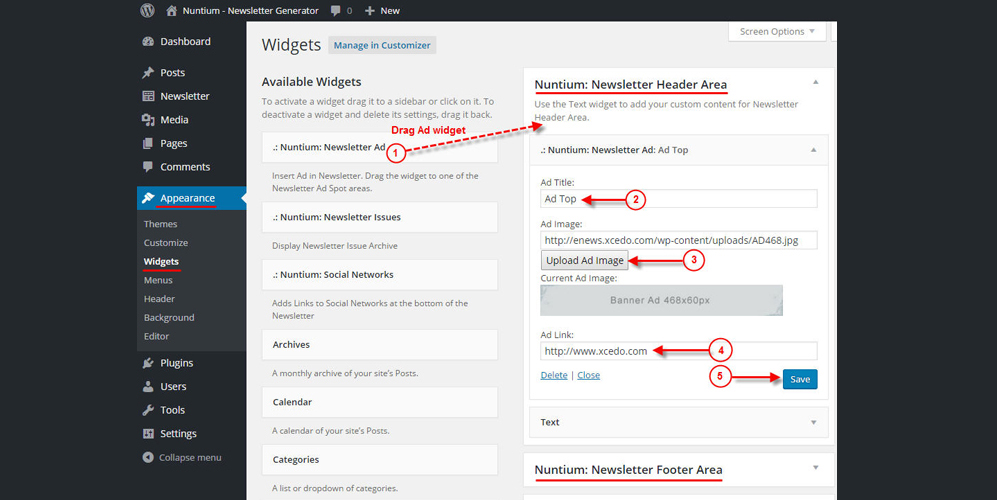
  • PRO Version. Insert Ad Banners to the Newsletter theme with just few steps.

Video Demo


Are You Ready to Start? Try Nuntium Light before you purchase the PRO version.

Install the Light Version


Ready to purchase the PRO version?

Buy It Now!